Transforming Walls into Art: A Guide to Multilayer Laser Cut Decor
In the modern era of interior design, the walls of our homes are no longer just structural boundaries; they have become canvases for personal expression. Among the most trending methods for creating unique, high-quality wall art is the use of Wall Decorative Panels created through digital fabrication. Whether you are a hobbyist with a home CNC router or a professional running a laser cutting business, understanding the nuances of multilayer files can elevate your projects from simple crafts to stunning focal points.
This guide explores the world of digital multilayer layout files, specifically designed for machines like laser cutters and CNC routers. We will delve into why these designs are significant, how they work, and how you can use them to create a welcoming vibe in your living space.
The Rise of Digital Fabrication in Home Decor
Gone are the days when intricate woodwork required years of apprenticeship. Today, technology has democratized creativity. With access to SIGN Digital multilayer layout files, anyone with a compatible machine can produce complex, layered artwork. These files are specially prepared to ensure precision, allowing the machine to cut each component perfectly so that they fit together seamlessly.
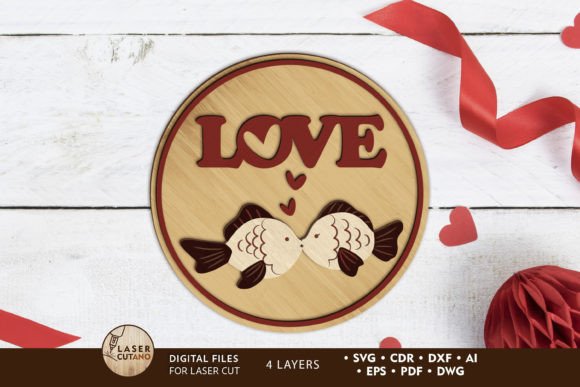
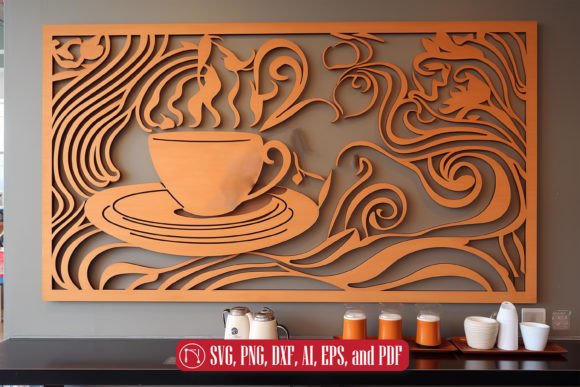
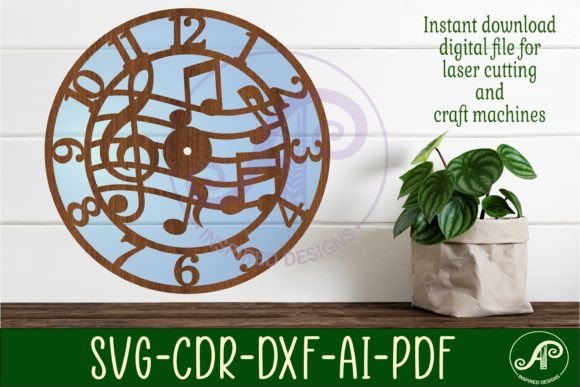
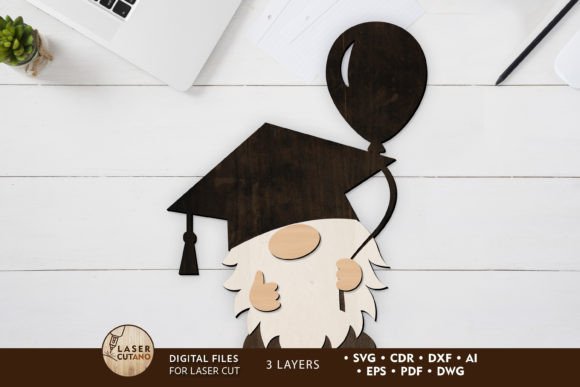
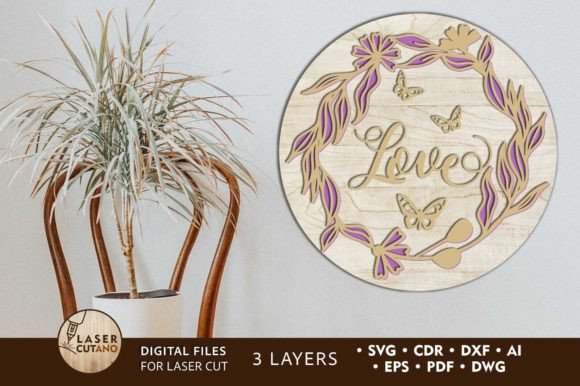
The appeal lies in the depth and texture these panels provide. Unlike flat prints or single-layer cutouts, multilayer designs offer a three-dimensional quality that catches light and shadow, adding warmth and sophistication to any room. This technique allows you to display simple but beautiful decoration on your wall, letting its sweet design fill your space with joy and warmth.
Understanding Multilayer Files
At the heart of this process is the digital file. When you purchase a design, you are not just buying an image; you are buying a set of instructions for your machine. These laser cut files are typically delivered in a compressed .zip folder containing various formats such as:
- .AI (Adobe Illustrator)
- .SVG (Scalable Vector Graphics)
- .DXF and .DWG (CAD formats)
- .CDR (CorelDRAW)
- .EPS and .PDF
It is crucial to unzip the folder before attempting to use the files. Each format serves a different purpose depending on the software you use to control your laser cutter or CNC machine. For instance, glowforge sign svg file users will primarily rely on the SVG format, while industrial CNC operators might prefer DXF or DWG for higher precision in toolpath generation.
Practical Application: From File to Finished Product
Creating a finished product requires more than just hitting "start" on your machine. It involves careful planning regarding materials, sizing, and assembly. Let’s break down the practical steps using a standard 14 x 14 inch sign as an example.
- Material Selection: The recommended materials for these projects include plywood, MDF, acrylic, plexiglas, metal, cardboard, and paper. For a rustic, cozy look, wood is the preferred choice. The recommended material thickness for wood is typically between 3 - 6 mm (1/12in - 1/4in).
- Scaling Considerations: One of the advantages of vector files is scalability. You can increase the size of a design to fit a larger wall space. However, caution is needed when reducing the design. If you make the panel too small, thin elements may become fragile or impossible to cut cleanly. Always consider the structural integrity of the smallest details.
- Cutting Process: Ensure your machine is calibrated. For laser cutters, focus height and power settings must be adjusted according to the material thickness. For CNC routers, bit selection is critical to avoid tearing the wood fibers.
Assembly and Finishing Techniques
The magic of multilayer decor happens during assembly. Each layer of the multilayer model is glued together to create depth. To achieve a professional finish, follow this golden rule: Paint before gluing.
Painting individual layers before assembly ensures that no unpainted edges are visible once the pieces are stacked. It also prevents glue from interfering with the paint job. Use a high-quality wood stain or acrylic paint to match your home’s color palette. Once dry, use a strong wood adhesive or epoxy to bond the layers. Clamp them gently if necessary to ensure a tight fit without squeezing out excess glue.
Why Choose Multilayer Wall Decor?
You might wonder why one should go through the trouble of cutting and assembling multiple layers when a single piece of art would suffice. The answer lies in the experience and the aesthetic value.
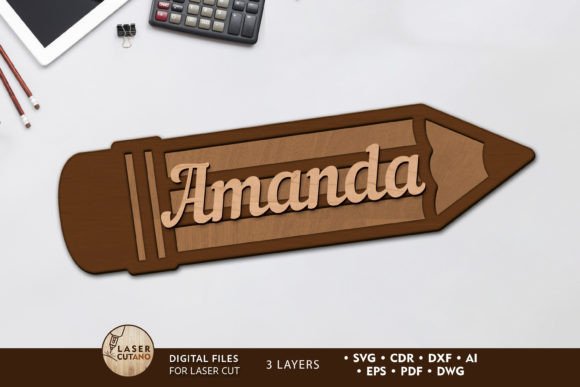
Home is where the heart is - make your living space more inviting by hanging one of these sign panels for wall decor. The tactile nature of layered wood or acrylic adds a sense of craftsmanship that mass-produced items lack. It signals to guests that care and attention to detail went into the environment. Furthermore, using our laser cut files for creating cozy home decor allows for complete customization. You can choose colors that match your sofa, stains that complement your flooring, or themes that reflect your personality.
Versatility Across Machines
These files are not limited to one type of machine. They are versatile enough to work with various technologies:
- Laser Cutters: Ideal for intricate details and smooth edges. Popular among users of Glowforge, xTool, and Universal Laser systems.
- CNC Routers: Better suited for thicker materials and larger scale projects. Great for working with hardwoods or soft metals.
- Die Cutters: While less common for thick wood, machines like Cricut can handle thinner materials like cardboard, paper, or thin acrylic if the design is scaled appropriately.
Whether you are searching for a laser cutting sign svg or a cricut compatible file, the underlying principle remains the same: precision cutting leads to perfect assembly.
Common Misunderstandings and Tips
Many beginners assume that all vector files are ready to cut immediately. This is a common misconception. While SIGN Digital multilayer layout files are prepared for cutting, user error can still occur. Here are some tips to avoid pitfalls:
Check Your Kerf: The laser or bit removes a small amount of material during cutting, known as the kerf. If your design has tight-fitting joints, you may need to account for this in your software settings to ensure layers fit snugly.
Grain Direction: When using wood, pay attention to the grain direction. Cutting against the grain can cause splintering. Aligning the grain horizontally across layers can also add visual interest and strength.
File Compatibility: Not all software reads every file format equally. If you encounter issues opening an .AI file, try the .SVG or .DXF version. These are more universally accepted across different CAM (Computer-Aided Manufacturing) programs.
Conclusion: Bringing Joy to Your Space
Incorporating Wall Decorative Panel projects into your home is more than just a DIY task; it is an act of creation. By utilizing high-quality multilayer files, you bridge the gap between digital precision and handmade charm. The result is a piece of art that is uniquely yours, crafted with your hands and your machine.
Whether you are decorating a nursery, a living room, or a home office, these signs serve as reminders of comfort and style. Let the process of designing, cutting, and assembling be a meditative practice. As you hang the final piece, watch how it transforms the ambient energy of the room. With the right tools and files, you have the power to turn blank walls into sources of inspiration and warmth.
Remember, after payment, you will be able to download the .zip file containing all necessary formats. Take your time, prepare your materials, and enjoy the journey of making your home truly feel like home. For more resources on laser cut sign wood file options and design inspiration, continue exploring the vast community of digital makers who share your passion for creative living.