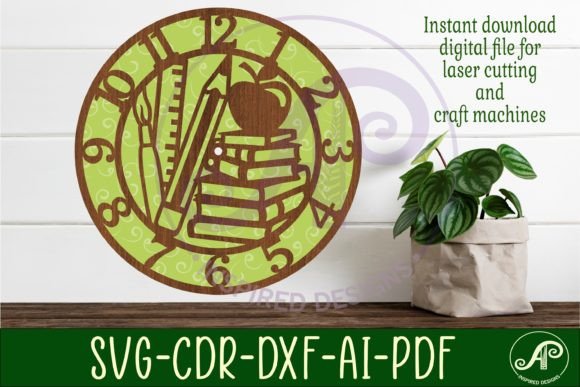
Teacher Wall Clock Laser Cut Template: A Practical Guide for Makers
Creating functional decor for educational spaces requires a balance of durability, clarity, and aesthetic appeal. The Teacher Wall Clock Laser Cut Template offers a streamlined solution for crafters looking to produce professional-grade timepieces without starting from scratch. Whether you are an educator customizing your classroom or a small business owner expanding your product line, understanding the technical nuances of these digital files is crucial for success.
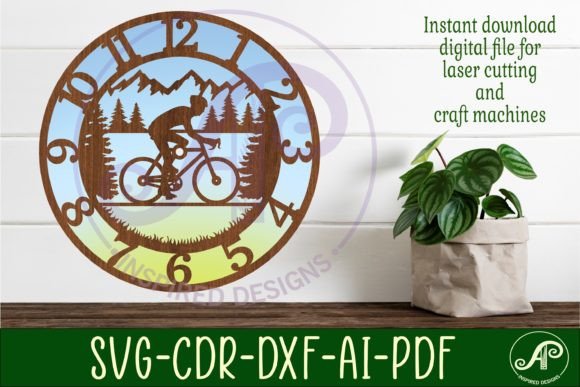
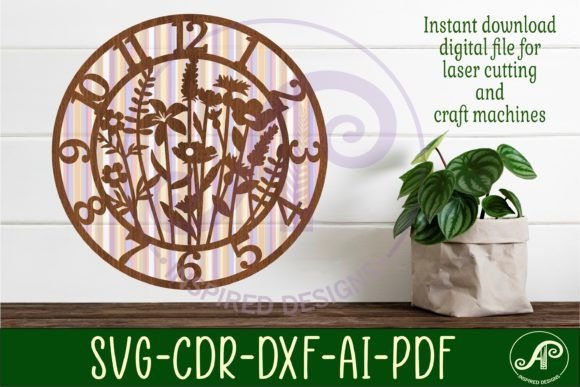
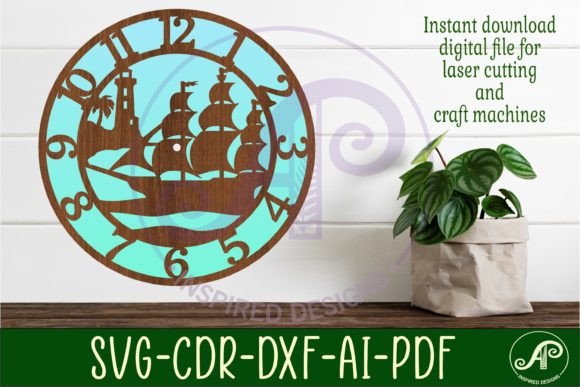
This digital download features three distinct wall clock face templates, designed specifically for precision cutting. Saved in versatile formats including SVG, DXF, AI, PDF, and CDR, these files are compatible with most laser machines, CNC routers, and craft cutters. However, simply downloading the file is only the first step. Many creators overlook critical details regarding file preparation, material selection, and hardware compatibility, which can lead to wasted materials and frustrated customers. This guide addresses common pitfalls and provides actionable advice to ensure your projects meet high standards.
Understanding File Formats and Compatibility
One of the most frequent mistakes beginners make is assuming all vector files behave identically across different software platforms. This Teacher Wall Clock Laser Cut Template comes in a zip folder containing SVG, DXF, AI, PDF, and CDR formats. While this variety is intended to maximize compatibility, using the wrong format for your specific workflow can cause significant issues.
For instance, SVG files are excellent for web-based design tools and many consumer-grade laser cutters, but they can sometimes interpret "filled" versus "outline" paths differently depending on the importer. If you are using CorelDraw, the included CDR file is your best option, as it preserves the original layer structure and node integrity designed by the creator. Conversely, LightBurn users often prefer DXF or SVG files. A common error is opening an AI file in a non-Adobe program without proper conversion, leading to missing fonts or distorted curves.
Better Approach: Before sending any job to your machine, open the file in your preferred design software and inspect the nodes. Ensure that all lines are closed paths if you intend to cut them out completely. Verify that the center hole, which is specified as 8mm thick for clock hands, remains a perfect circle and has not been inadvertently merged with other design elements during import.
Scaling and Dimensional Accuracy
Accuracy is paramount when creating functional items like clocks. The recommended size to cut these files is between 25 to 50cm, with the default save size set at 29cm (approximately 11.4 inches) wide. A widespread misunderstanding among hobbyists is that they can scale the design arbitrarily without considering the structural integrity of the material or the functionality of the clock mechanism.
Scaling down too much can make the numerals or markers difficult to read from a distance, defeating the purpose of a classroom clock. Scaling up excessively without adjusting material thickness can result in a flimsy product that warps over time. Furthermore, the 8mm center hole is a fixed dimension designed to fit standard quartz clock movements. If you scale the entire design uniformly, the hole size changes, potentially rendering the clock mechanism incompatible.
Practical Advice: Always check the dimensions of the center hole after resizing. If you need a larger clock face, scale the outer design but keep the mounting hole at 8mm, or be prepared to drill it out to the correct size manually. Test cuts on scrap material of the same thickness are essential to verify that the final diameter meets your spatial requirements before committing to expensive hardwoods or acrylics.
Material Selection and Laser Settings
The quality of the final product depends heavily on the interaction between the laser settings and the chosen material. Many creators rush into cutting final pieces without testing power and speed settings, leading to charred edges or incomplete cuts. Since this template is designed for laser cutters and CNC routers, the material choice should reflect the intended environment. For a classroom setting, durability and safety are key.
Using thin plywood may result in a fragile clock that breaks easily, while overly thick acrylic might require multiple passes, increasing the risk of melting or flame marks. Additionally, some materials release toxic fumes when laser-cut. It is a critical oversight to ignore ventilation requirements or material safety data sheets.
Recommendation: Start with a test piece of your chosen material. Adjust your laser’s focus and power settings to achieve a clean cut with minimal charring. For wood, consider using masking tape on the surface to prevent smoke stains, which can be difficult to remove later. Ensure the 8mm hole is cut cleanly, as rough edges here can interfere with the clock hands’ movement.
Assembly and Hardware Considerations
A beautifully cut clock face is useless if the mechanism does not function correctly. The template includes an 8mm center hole, which is standard for many clock kits, but not all. A common frustration arises when makers purchase clock mechanisms without verifying the shaft length and thread type relative to their material thickness.
If you are using layered materials to create a 3D effect, the total thickness may exceed the capacity of a standard short-shaft movement. This leads to hands that do not sit flush or fail to rotate freely. Another overlooked detail is the weight of the hands. Heavy metal hands may not work well with low-torque battery-operated movements, causing the clock to lose time or stop entirely.
Solution: Measure the total thickness of your assembled clock face, including any backing layers. Purchase a clock mechanism with a shaft length that accommodates this thickness plus the nut and washer. Opt for high-torque movements if you plan to use larger or heavier hands. Always assemble the clock on a flat surface to ensure the hands are parallel to the face, preventing them from touching each other or the glass cover.
Maximizing Value for Educators and Entrepreneurs
For teachers, this template offers a way to create customized learning tools that match classroom themes. For entrepreneurs, it represents a scalable product idea. However, treating this digital download as a one-size-fits-all solution can limit its potential. Customization is key to standing out.
Consider painting or staining the wood before assembly to highlight the laser-cut details. Adding a clear protective coat can enhance durability, especially in high-traffic educational environments. If you are selling these clocks, clearly communicate the care instructions to buyers, such as avoiding direct sunlight which can warp wood or fade colors.
Remember, this listing is for a DIGITAL DOWNLOAD ONLY. No physical item will be mailed. Instant access allows you to start producing immediately, but it also places the responsibility of quality control squarely on your shoulders. By paying attention to file integrity, scaling accuracy, material suitability, and hardware compatibility, you can avoid common pitfalls and produce high-quality, functional art.
In conclusion, the Teacher Wall Clock Laser Cut Template is a robust resource for makers willing to invest time in proper preparation. By avoiding the mistakes outlined above and adhering to best practices in digital fabrication, you can create timeless pieces that are both educational and aesthetically pleasing. Whether for personal use or commercial sale, precision and attention to detail will always yield the best results.